Friday, March 30, 2012

Earth Month Challenge

April is when it really starts to feel like spring. I start to notice all the natural beauty and enjoy the outdoors again. With Earth Day on April 22nd it's also a time to think about our impact on the world around us and try to be a bit kinder to the environment. This year I am challenging myself to think of everyday ways I can make a difference. One of those efforts is to phase out corn syrup. I will be replacing corn syrup in all my caramel recipes with locally produced honey.

A little information on corn and our environment from "When a Crop Becomes King" By Michael Pollan from the July 18th, 2002 NY Times
"We know a lot more about what 80 million acres of corn is doing to the health of our environment: serious and lasting damage. Modern corn hybrids are the greediest of plants, demanding more nitrogen fertilizer than any other crop. Corn requires more pesticide than any other food crop. Runoff from these chemicals finds its way into the groundwater and, in the Midwestern corn belt, into the Mississippi River, which carries it to the Gulf of Mexico, where it has already killed off marine life in a 12,000 square mile area.

To produce the chemicals we apply to our cornfields takes vast amounts of oil and natural gas. (Nitrogen fertilizer is made from natural gas, pesticides from oil.) America's corn crop might look like a sustainable, solar-powered system for producing food, but it is actually a huge, inefficient, polluting machine that guzzles fossil fuel - a half a gallon of it for every bushel."

I have been working for the past several weeks to reformulate all my recipes with honey instead of corn syrup. The results have been good, they turn out a bit different than the usual corn syrup variety: a little bit softer, the color of the candy is affected by the color of the honey, and there's a bit of a honey flavor too.

Saturday, January 28, 2012

Caramel Community

My Dad is the Editor of a small independent newspaper here in Missoula, called The Regular Joe . For February's upcoming edition he is running several stories about the local ski hill, Snowbowl. One of the stories is about the wonderful sense of community there and my tasty caramels are mentioned. I've included the article by Bob Tutsky below:

“Community” - (with a capital “K”, oops, make that a capital “C”) is what makes Snowbowl special. Besides the “where everyone knows your name” Cheers like atmosphere, I had an experience recently that I thought summed up what Snowbowl was all about.

About mid-afternoon last Sunday, just before hopping on the Grizzly chair, Mija the pass checker, a beautiful young lady by every definition, offered my friend and I homemade caramel candies. She said another fellow skier had given her more caramels than she could eat. The homemade caramels, were made by the daughter of another hardcore Snowbowl skier. We hopped on the chair and ate our caramels as we rode up, they were just the sustenance we needed to finish off an afternoon of Bowl skiing. Besides being awfully tasty, I was struck by the sense of community that the homemade caramels represented. It all came full circle - they were made by another hard core Snowbowl skiers daughter’s as shared by her dad with a lifty and then shared by the lifty with other Snowbowl skiers. That seems like a pretty good description of “community” to me.

Bob Tutskey

Sunday, September 25, 2011

New Candy Boxes!

I've been busy this weekend. Working on some new Party Favor boxes. And had to share!

Halloween Trick-Or-Treat Boxes


Snowflake Boxes


Sunburst Boxes

You can check out more photos and info on my shop page: http://www.etsy.com/shop/imestell

Tuesday, August 30, 2011

Chocolate Covered Caramels

I have decided to offer some chocolate covered selections in my etsy shop, once the weather is cool enough to no longer worry about melting in transit. When I was in culinary school I worked with chocolate frequently, but haven't much since then. Now that it's been 8 years since I've tempered and used couveture the task seems a bit daunting. So I've been practicing and documenting my progress to share with you!

Tempering is essential when melting chocolate to use in coatings and decorations. The process involves heating and cooling the chocolate to exact temperatures, to allow the fats and sugars to crystallize properly. If you don't do it, you end up with streaky, grey, grainy and otherwise unsightly results. Tempered chocolate will set more quickly and have an even glossy appearance.

The method I use is called the "Vaccination" method. I start by slowly heating a large amount of chopped chocolate (or sometimes I use chocolate disks called "pistoles") in a bowl set over boiling water. Be careful to keep the heat from the burner under the pot, if it comes up and hits the sides of the bowl, it will burn the chocolate.

Remove the chocolate from the heat when it reaches 113 degrees. It will not be completely melted. If it is completely melted and smooth the chocolate is too hot. I used a digital thermometer to make sure that the chocolate didn't overheat.

Slowly cool the chocolate by gradually adding chopped chocolate while stirring constantly. Cool the chocolate to 90 degrees for dark, 88 for milk, or 86 for white chocolate.

When the chocolate is ready I set the bowl at an angle, propped up by a folded kitchen towel, so that there is a nice deep spot for dipping.

From here it's just a matter of dropping the caramels in. Fishing them out with a fork, and sliding them onto a sheet of wax paper to cool.

Once cool I trim off any excess chocolate around the bottom for a more finished look.


Monday, June 13, 2011

Treasured

Wow! My caramels have been featured in four different treasuries over the past few days. I feel so popular!!! Thank you to oldebuttonshop for including my Raspberry Caramel in their collection titled "Meet my Family" inspired by this very adorable robot plush toy.


I would also like to thank craftysherry for featuring my Chocolate Sea Salt Caramel in their very delicious treasury: I think I've died and went to CHOCOLATE HEAVEN

Thank you to sueperino for featuring my Peanut Caramel in this lovely treasury, Evening on the Porch. I'm hoping for some nicer weather here, so I can get some relaxation time on my porch.

I would also like to thank Shattered Smooth for including my Chocolate Sea Salt Caramel in their beautiful treasury, Welcome to my Summer Dreams.

Sunday, June 5, 2011

Treasury Feature

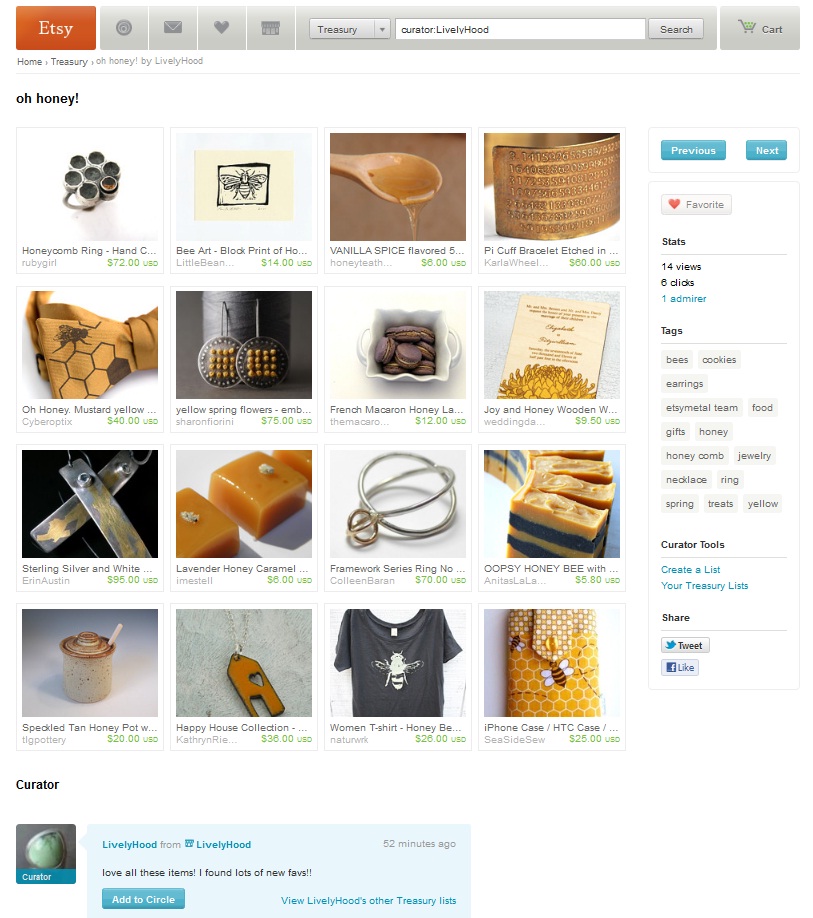
It looks like my caramels are extra popular this week! We were featured in another lovely treasury by Battic. The theme for this treasury is Tea Lover's Fields of Lavender, and I am very pleased to have my Lavender Honey Caramels included in this beautiful collection of scrumptious tea themed treats!

Thursday, June 2, 2011

Treasury Feature

My Tea Party Favor Boxes were featured in this beautiful Garden Party Treasury by WindyCityKnits.


Thank You to WindyCityKnits for including me in this beautiful collection!

Sunday, May 1, 2011

Kitchen Experiment: Coconut Vegan Caramels

I've been wanting to offer a dairy free caramel for my friends and customers who are lactose intolerant or choose not to consume animal products. Traditionally caramels are full of cream and butter. My challenge is to replace the fat, protein, sugars and liquid provided by these dairy products with plant based alternatives, while maintaining the right flavor, texture and consistency. Coconut has a wonderful rich flavor which I think will pair nicely with caramel and also contains plenty of fat, proteins, sugars...etc. I've also decided to add some toasted coconut flakes to boost the flavor and provide an interesting texture visually and in the mouth.

I'm starting with this recipe:
1/2 cup Sugar
3 oz Dark Corn Syrup
1/2 cup Cream (divided)
4 oz Butter

I am using organic evaporated cane syrup for the sugar. Replaced the corn syrup with organic agave syrup (some of the stuff I've been reading about what's going on with corn these days is scary). For the cream I am using regular coconut milk to replace the cream. The butter replacement is problematic most plant based fats are in the form of oils which are almost 100% fat. Butter is usually 80% fat, the composition of remaining 20% consisting of proteins, milk solids and water. I'm worried that if I replace the butter with an oil the resulting product will not be smooth and may turn out greasy. After looking at several options I have decided to use creamed coconut. It has a high fat content, but also contains liquids, proteins and fiber. After my adjustments I have this recipe:
1/2 cup Sugar
3 oz Agave Syrup
1/2 cup Coconut Milk
2 oz Creamed Coconut
Toasted coconut flakes for garnish

I followed my usual caramel making method to cook the candy.

Step 1
Gather all ingredients and materials:
A small heavy bottomed pot
Wooden Spoon
Candy, or digital thermometer
Heat resistant rubber spatula
A small loaf pan - to use as a mold
Aluminum Foil - to line mold
Pan Spray
Recipe ingredients
Prepare mold for pouring caramel into when finished by lining with aluminum foil, make sure to push all the way into corners. Spray foil lining with vegetable oil pan spray.


Step 2
Put Sugar, Agave Syrup, half of the coconut milk and all of the creamed coconut into a pot. Cook over medium low heat, while stirring constantly.


Step 3
Once the liquid comes to a boil pour in the remaining coconut milk. At this point I clip the candy thermometer to the pan, being careful to make sure the tip is in liquid, not touching either the bottom or the sides of the pot. I wait to stick in the thermometer until after the butter has melted, because I don't like how the butter (or in this case creamed coconut)bumps into the thermometer while I'm stirring.


Step 4
Continue cooking and stirring constantly until the temperature has reached "Soft Ball Stage" 235-240 degrees F. A difference of just half a degree can significantly alter the texture of caramel. There is some interesting information about sugar caramelization here. For this experiment I am stopping the cooking at the very start of soft ball stage, 235 degrees.


Step 5
Continue stirring as you move away from the stove, and pour caramel into already prepared mold. The residual heat in the mixture and the pan will continue to cook the caramel. If you stop stirring it you may get some burnt spots. I sprinkled some toasted coconut flakes over the top, as garnish at this point.Allow to cool for several hours. Chilling briefly in the refrigerator makes the caramel a little easier to unmold and cut.


Step 6
Once completely cool, I lift the foil liner and caramel out of the mold. Begin pulling the foil away from the sides of the caramel, then flip it over to pull the foil off the bottom. When there is something on the top of the caramel (like the toasted coconut here) I find it easiest to cut the caramels while they are still upside down.


Experiment Conclusions:
I really like the intense coconut flavor in this candy. They were a little bit too soft in my opinion. I think that they need to be cooked to then end of soft ball stage, probably around 240 degrees. I'm going to try this recipe again, and take the caramel to a higher temperature.

Friday, April 29, 2011

Treasury Feature

My Lavender Honey Caramels were featured in this lovely treasury by Prairie Wind Designs. The theme is "Mother's Day Gifts from Big Sky Country". I thought that I had finished all my Mother's Day shopping, but after seeing all the great items here, Mom might be getting a couple extra gifts!

Sunday, April 24, 2011

Lavender

I'm very excited to have connected with Paula, from Paula Jeans Garden on etsy. She is a local Missoula gardener, and I have been using her organic dried lavender buds to make Lavender Honey Caramels. The lavender flavor is exquisite!

http://www.etsy.com/listing/67160583/montana-grown-dried-lavender-2-cups-of

Thursday, April 21, 2011

Hello!

I started this blog about a year ago, and have been somewhat neglectful of it.  Recently I've had a brainstorm of blogging ideas which will tie into some of my kitchen experiments and craft projects.  Here you will find information about the things I am working on, new materials and ingredients I'm excited about and perhaps some cooking and candy making tutorials.  Enjoy!